Creating a kit in Gimkit is a simple and effective way to organize learning materials. This step-by-step manual will help you build your kit from scratch. Follow these instructions carefully to ensure a smooth experience.
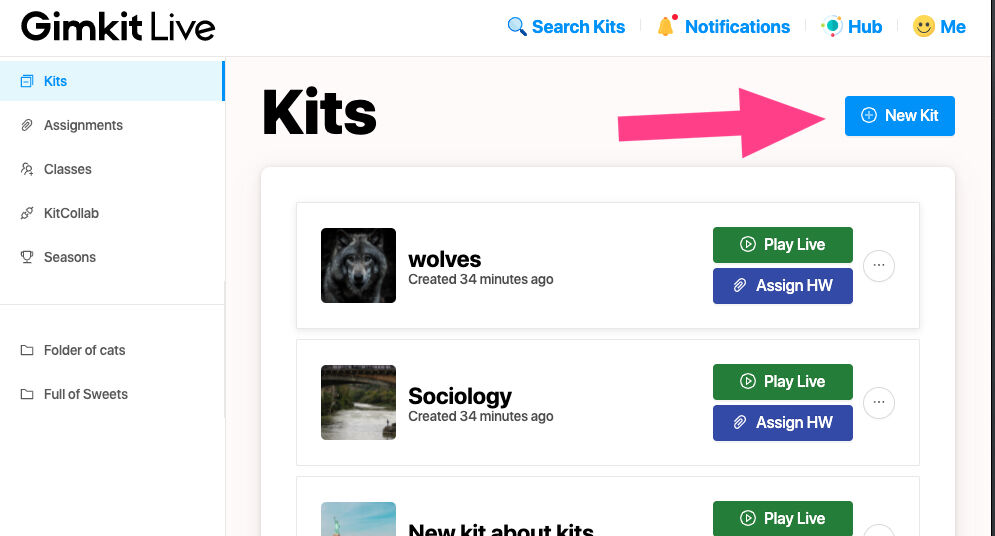
Start a New Kit
- Log in to your Gimkit account and navigate to your dashboard.
- Click on the “New Kit” button to begin the creation process.
- This will open a new window where you can enter details about your kit.
| Step | Action |
| Open Dashboard | Log into your Gimkit account |
| Start New Kit | Click “New Kit” to begin |
Set Up Your Kit
- Enter the necessary details for your kit, including:
- Kit Name: Choose a title that clearly describes the content.
- Language: Select the language for your kit.
- Subject: Pick the relevant subject for your content.
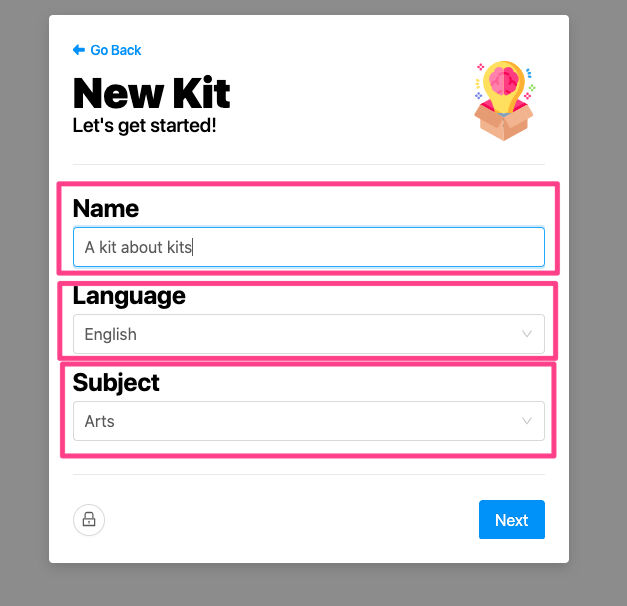
- Ensuring that these details are accurate will make it easier to locate and use the kit later.
Pick a Cover Image
- Select an image to represent your kit visually.
- You can choose from two options:
- Browse and select an image from Unsplash, a built-in image library.
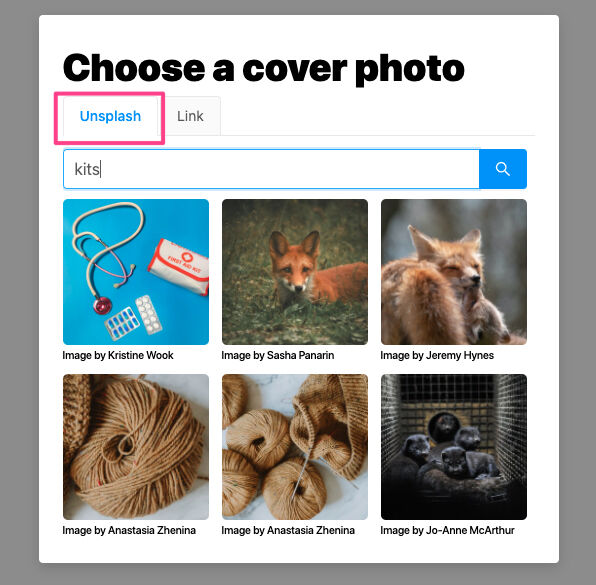
- Use an image URL from the internet to upload your own.
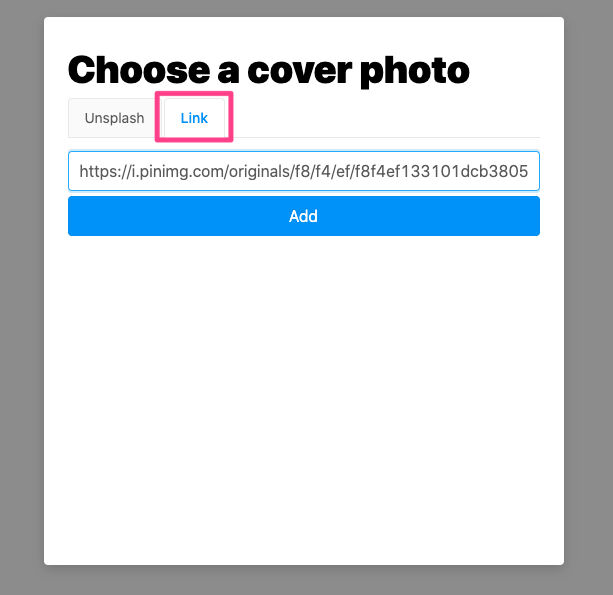
- A cover image helps make your kit visually appealing and easier to identify.
| Image Options | Source |
| Unsplash | Built-in Gimkit tool |
| Image URL | Any web link of your choice |
Add Questions to Your Kit
- Click “Add a Question” to create a new question from scratch.

- Fill in the required fields:
- Enter your question text.
- Provide correct answers.
- Include incorrect answer choices to challenge players.
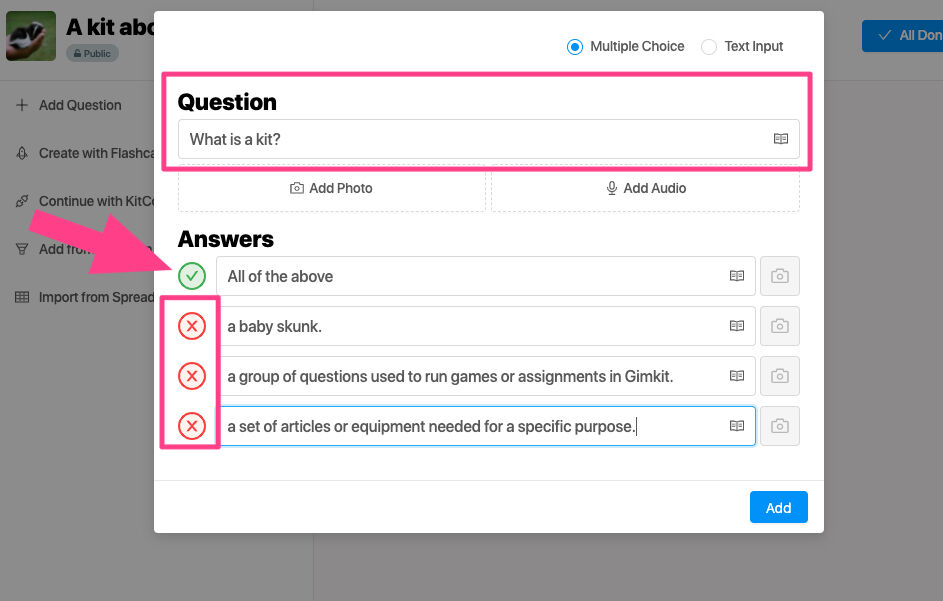
- To modify an answer, click the checkmark beside it to mark it as correct or incorrect.
- You can enhance questions by adding images, audio, or other media.
- Once you finish a question, click “Add” to save it.
- Repeat these steps to add more questions to your kit.
Note: Audio-based questions are an exclusive feature for paid Gimkit members.
Finalize Your Kit
- Once you have added all the necessary questions, click “All Done” to save your work.
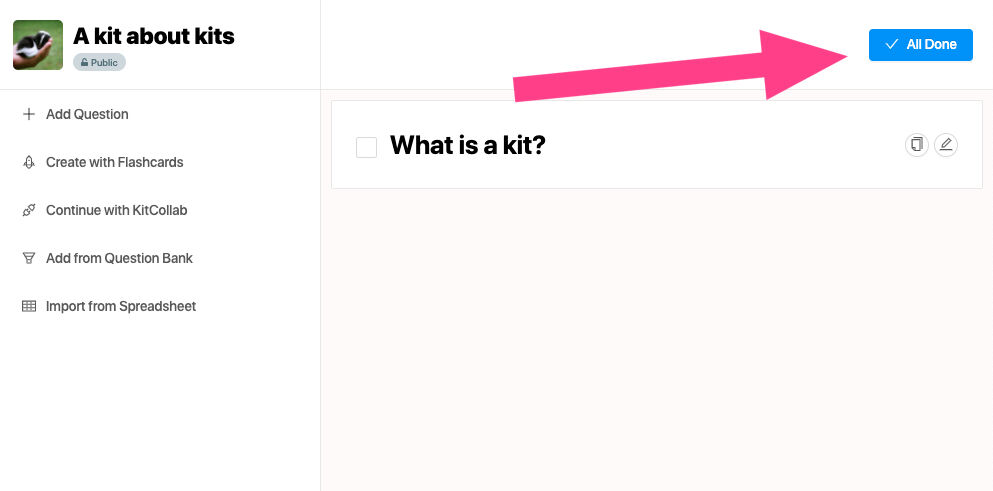
- Your kit will now be stored in your dashboard, where you can access it anytime.
- Before moving forward, review the questions to ensure accuracy and completeness.
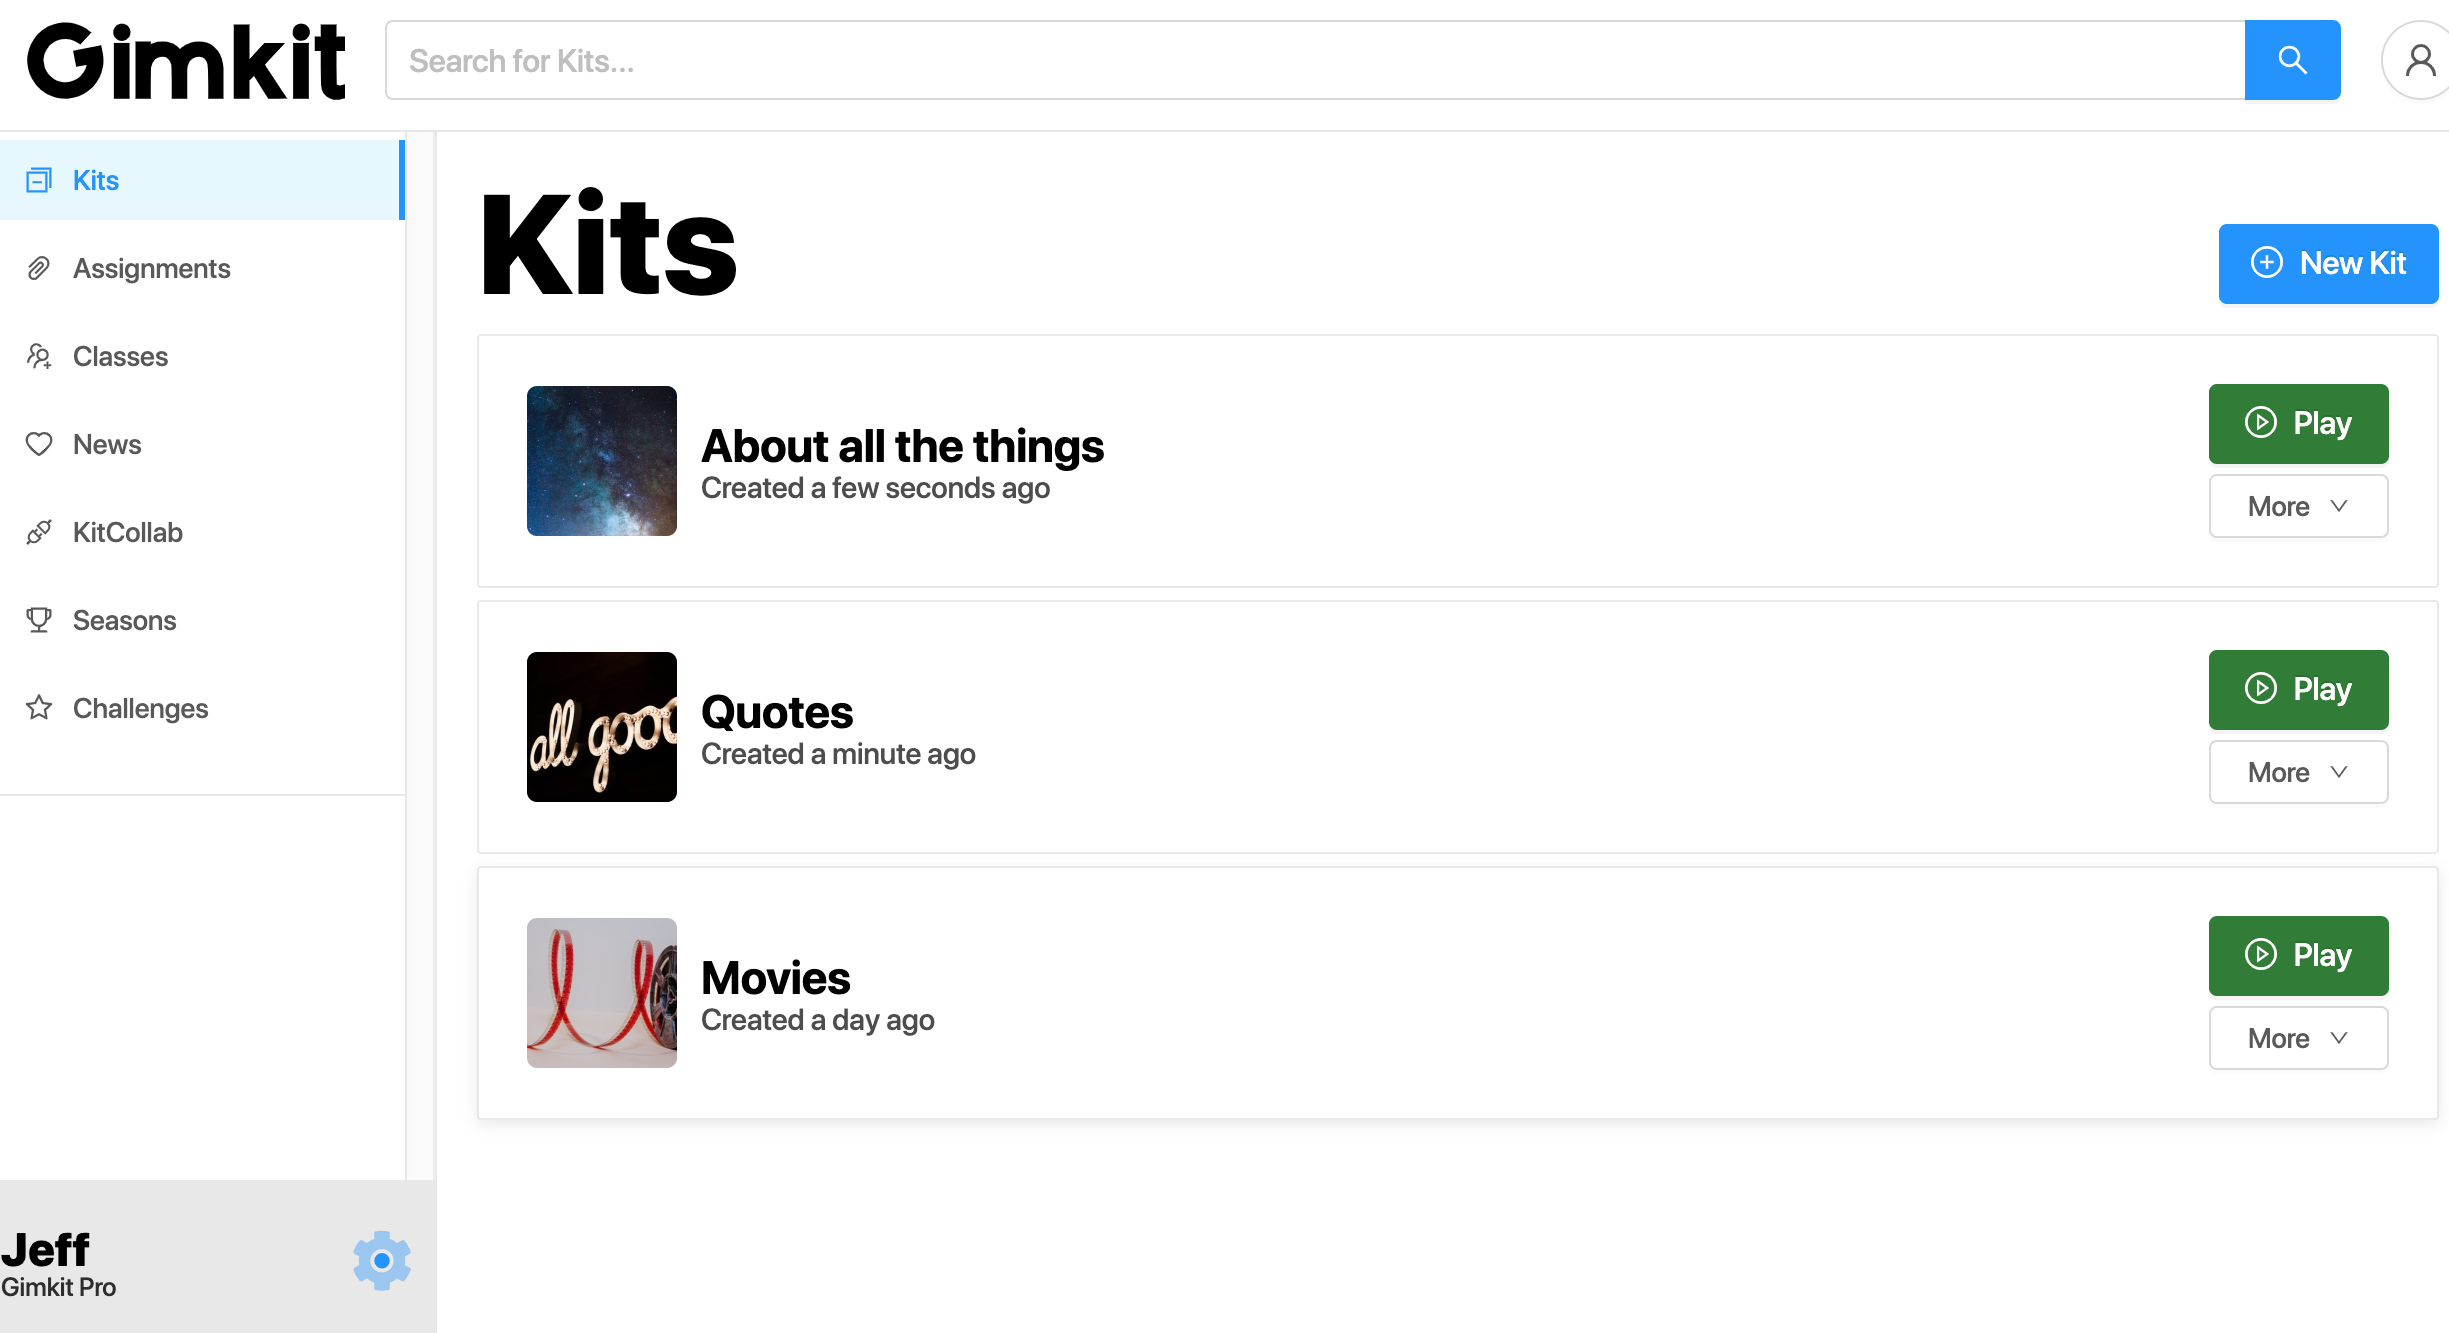
Access and Manage Your Kit
- Head back to your dashboard to view your saved kit.
- From here, you have multiple options:
- Edit the kit if you want to make changes.
- Organize it by placing it into a folder.
- Play the kit by selecting it for a live session.
- Managing your kits efficiently allows you to keep your learning materials structured and accessible.

By following these steps, you can successfully create a kit in Gimkit and customize it according to your needs. Whether for study purposes or fun learning sessions, this tool provides an engaging way to develop and organize educational content.
