
Hosting a live game in Gimkit makes learning interactive and engaging. With this feature, you can use your kits in real time to review concepts and create a fun experience.
Steps to Start a Live Game
To set up and launch a live game, follow these steps:
- Choose a kit
- Pick a game mode
- Adjust game settings
- Share the game link or code
- Start the game
Below is a detailed guide on how to begin hosting a live session.
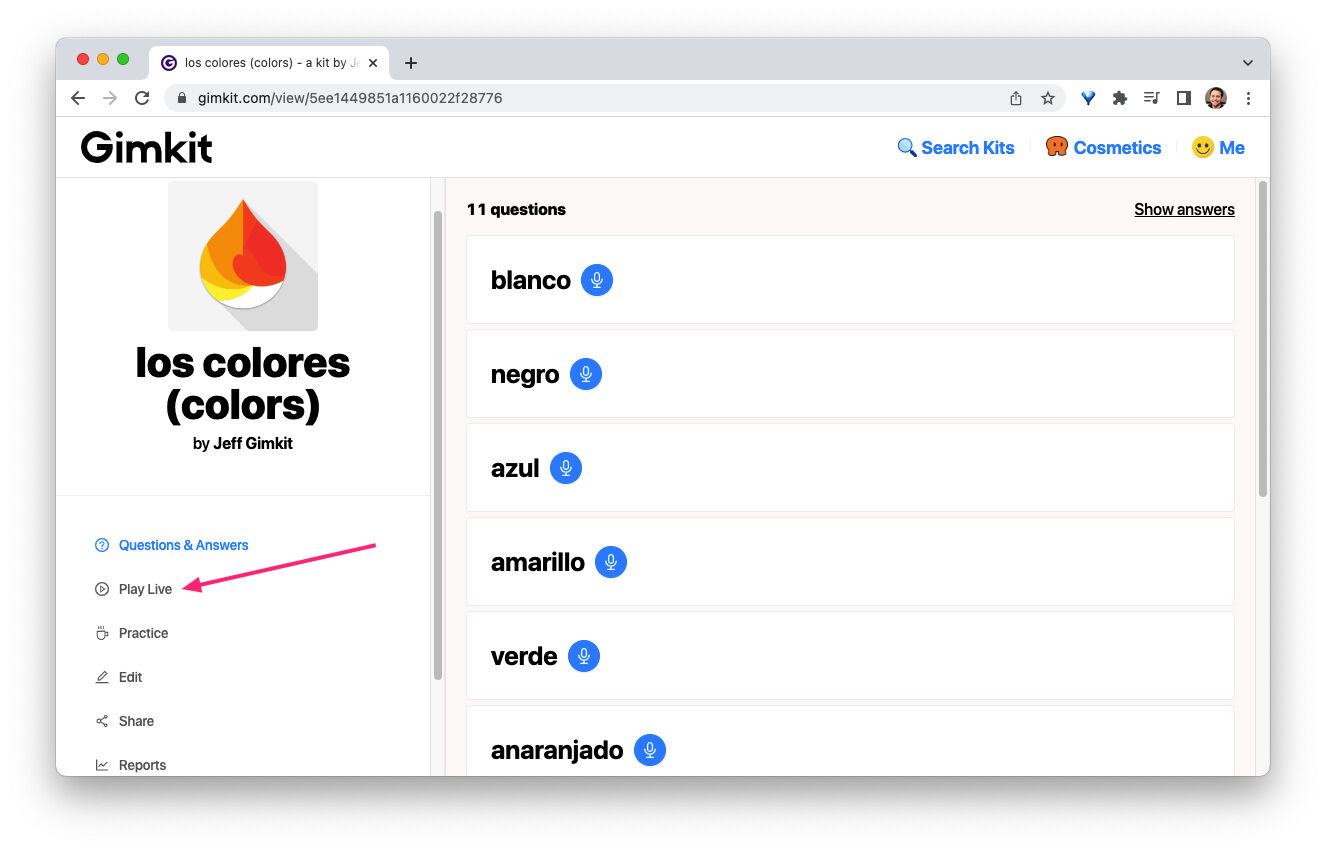
Selecting Your Kit
Begin by choosing the kit you want to use. You can host any publicly available kit, but you will only receive reports for the ones you own.
To launch a kit, click the Play Live button on the right side of any kit in your dashboard. Alternatively, open a kit and select Play Live from the right-hand panel.
| Action | Location |
| Click Play Live | Dashboard (next to kits) |
| Choose Play Live | Inside any kit |

Picking a Game Mode
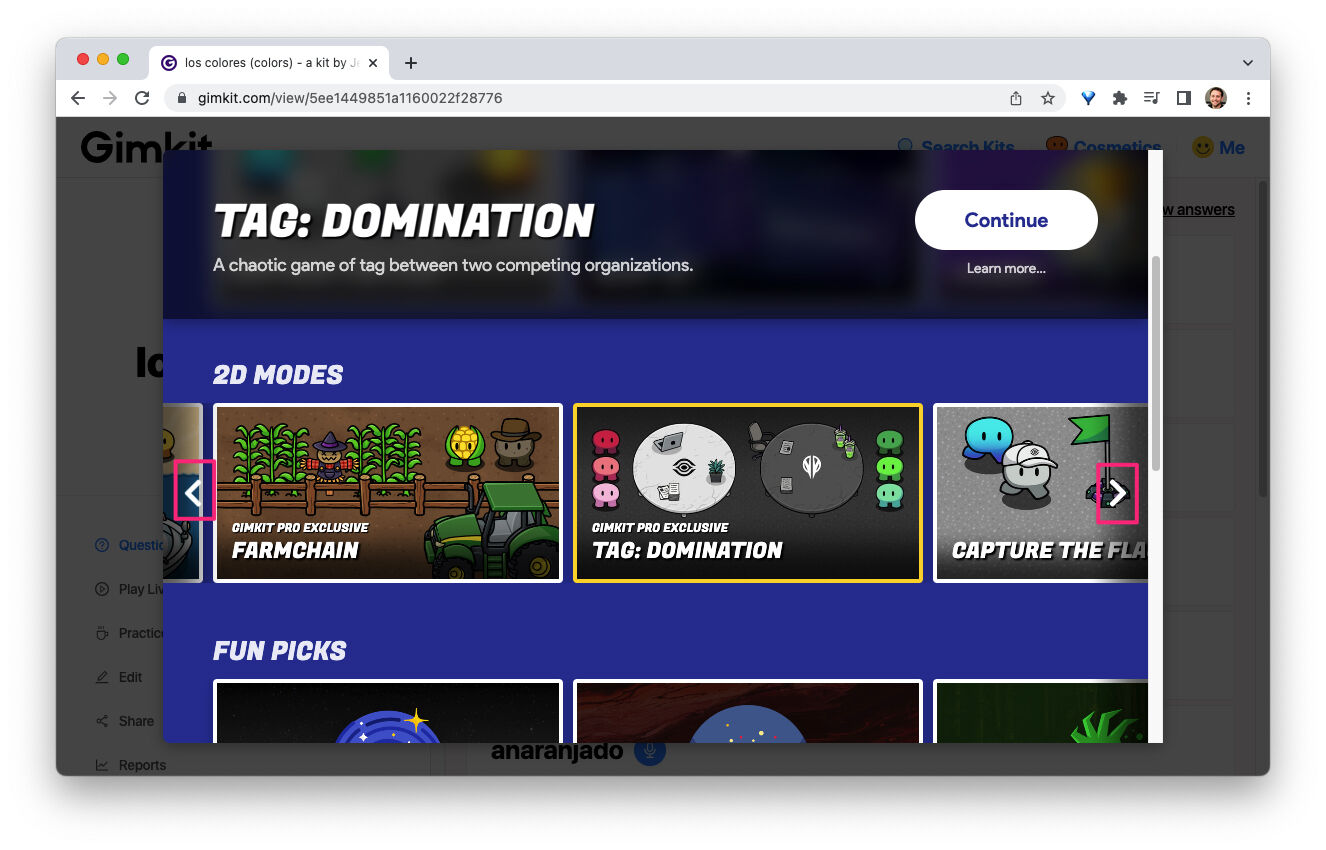
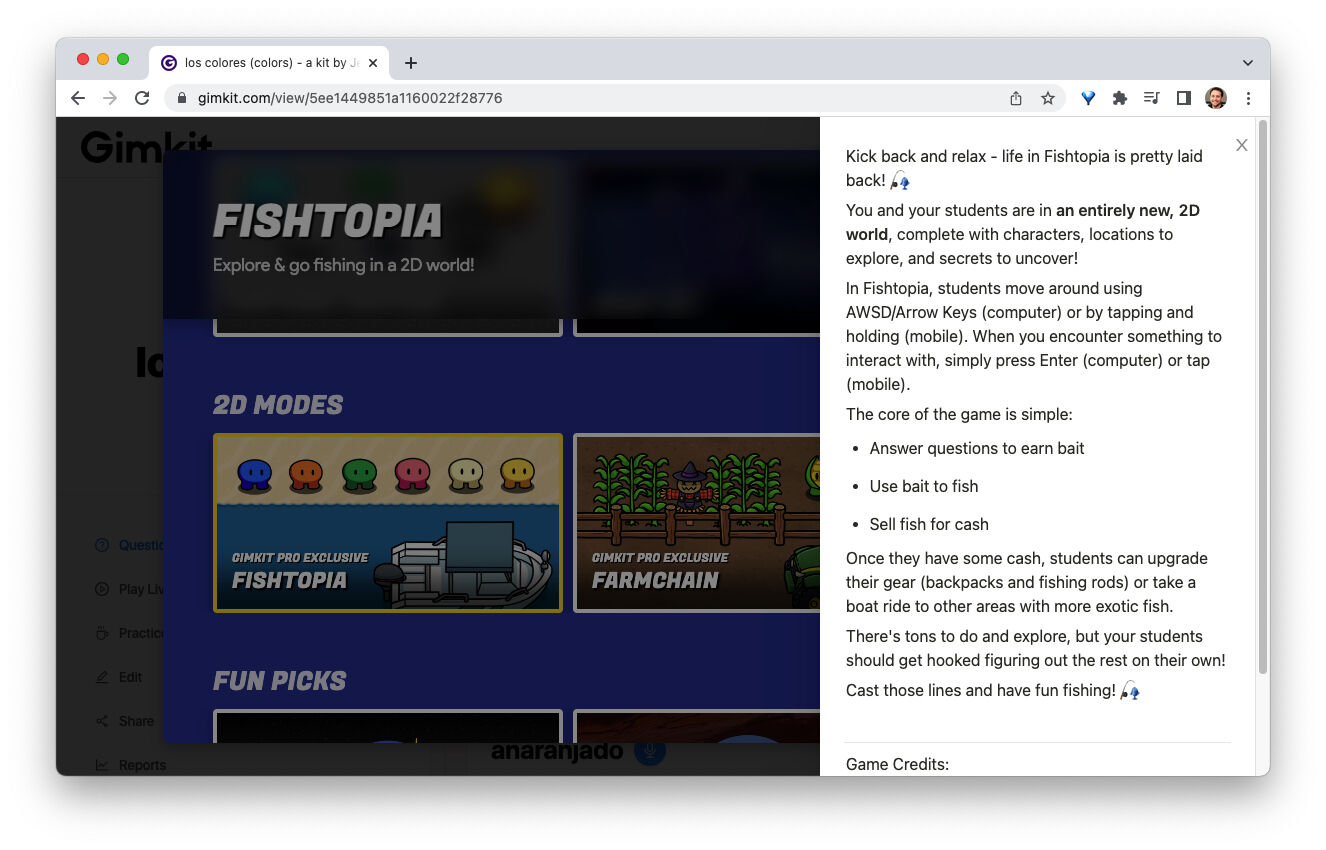
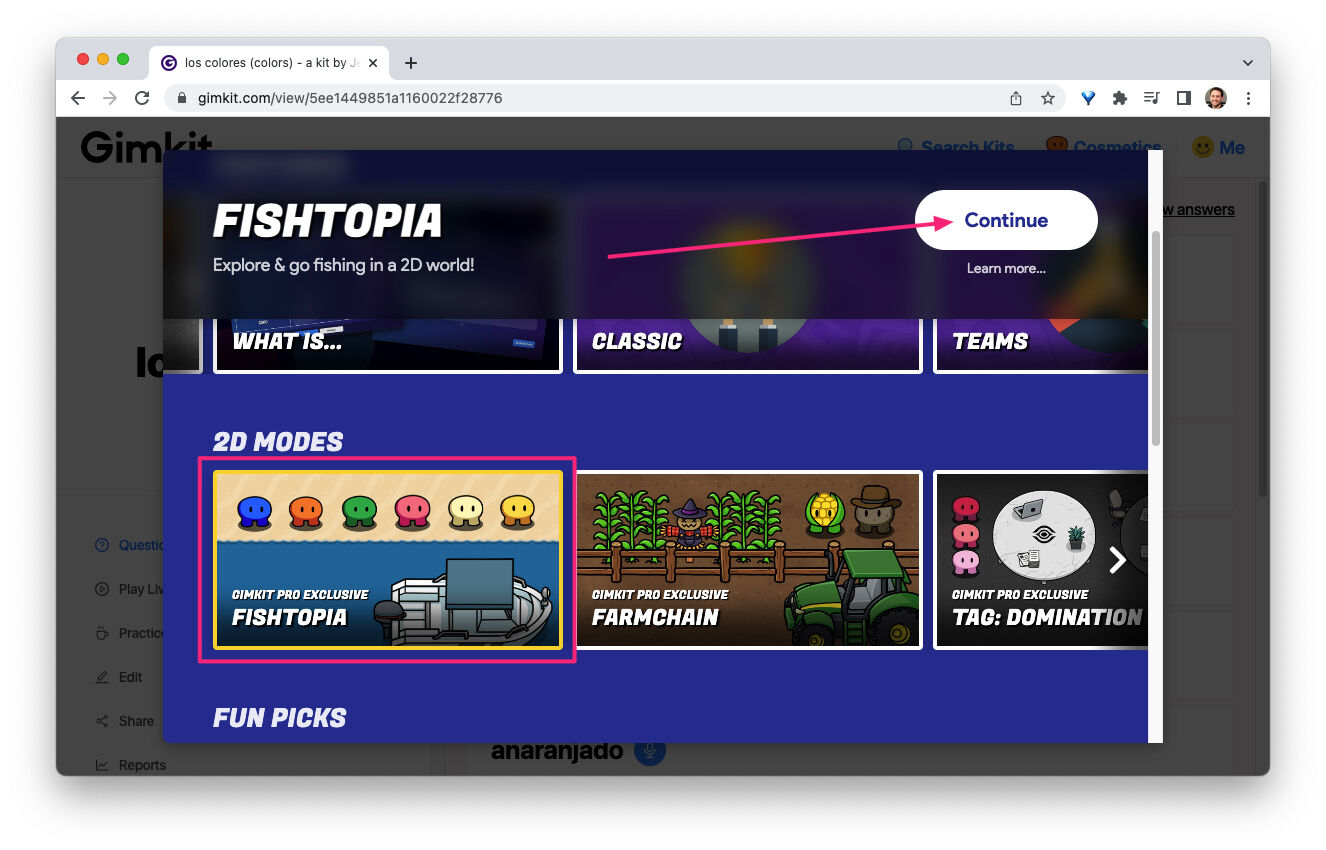
After selecting a kit, the Mode Picker screen appears. This section allows you to explore different available modes.
- Scroll through the available game types.
- Click Learn More to see details about a mode.
- Once you select a mode, a yellow outline will appear around it.
- Press Continue (upper-right corner) to proceed to game setup.
Configuring Game Settings
The next screen will present multiple game settings. You can modify options such as:
- Enabling class connections
- Activating the Nickname Generator
- Choosing the game’s ending goal
- Allowing or restricting late entries
Game settings vary based on the mode you choose. Once you finalize these settings, click Continue to proceed.
Opening the Game Lobby
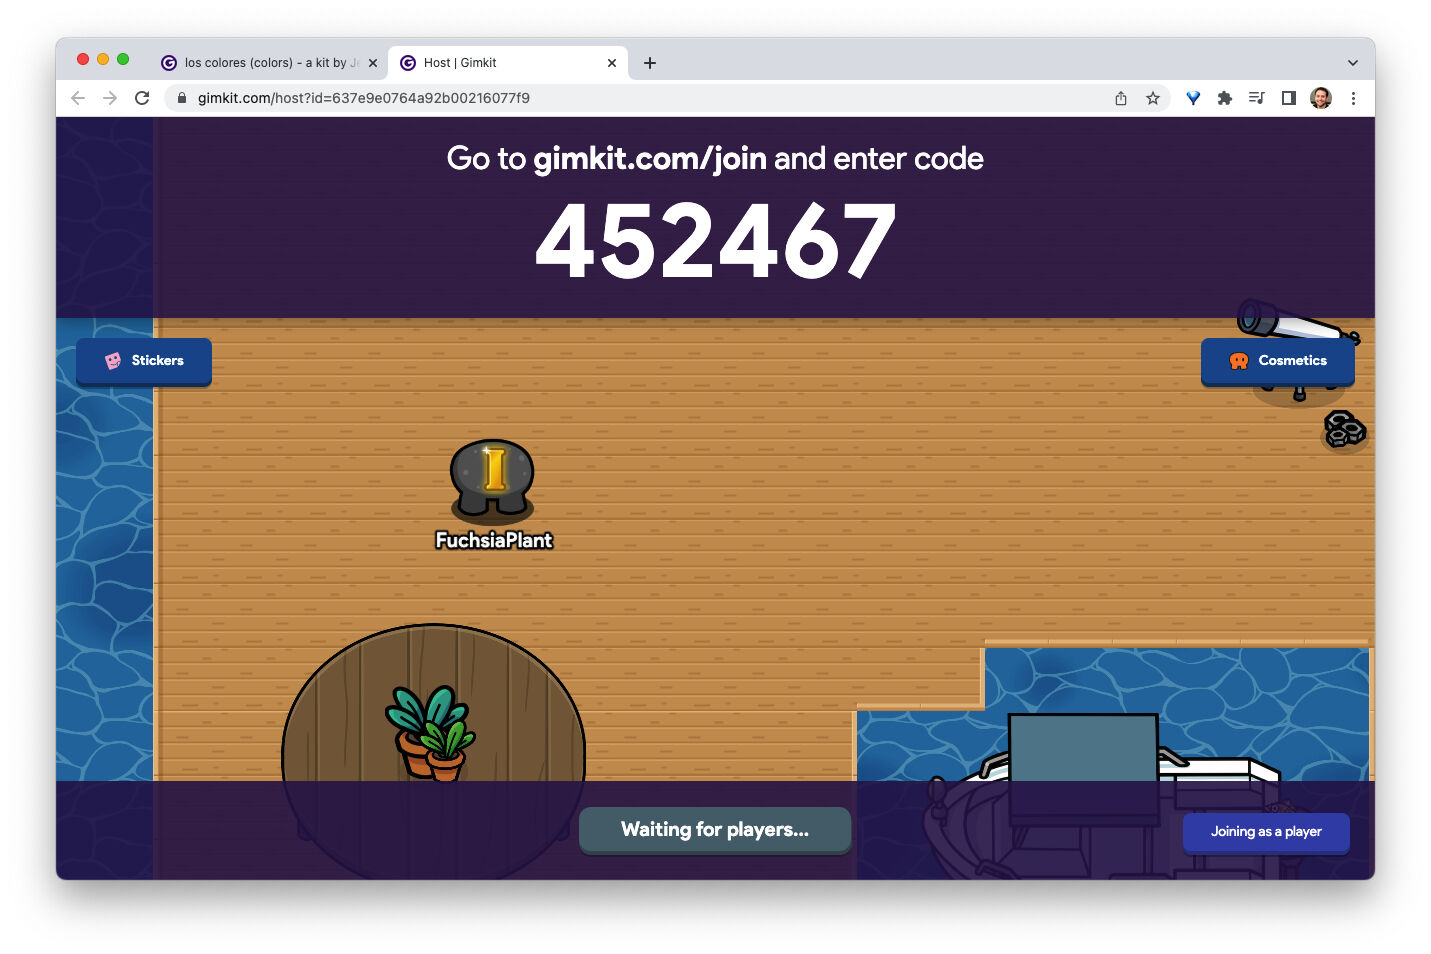
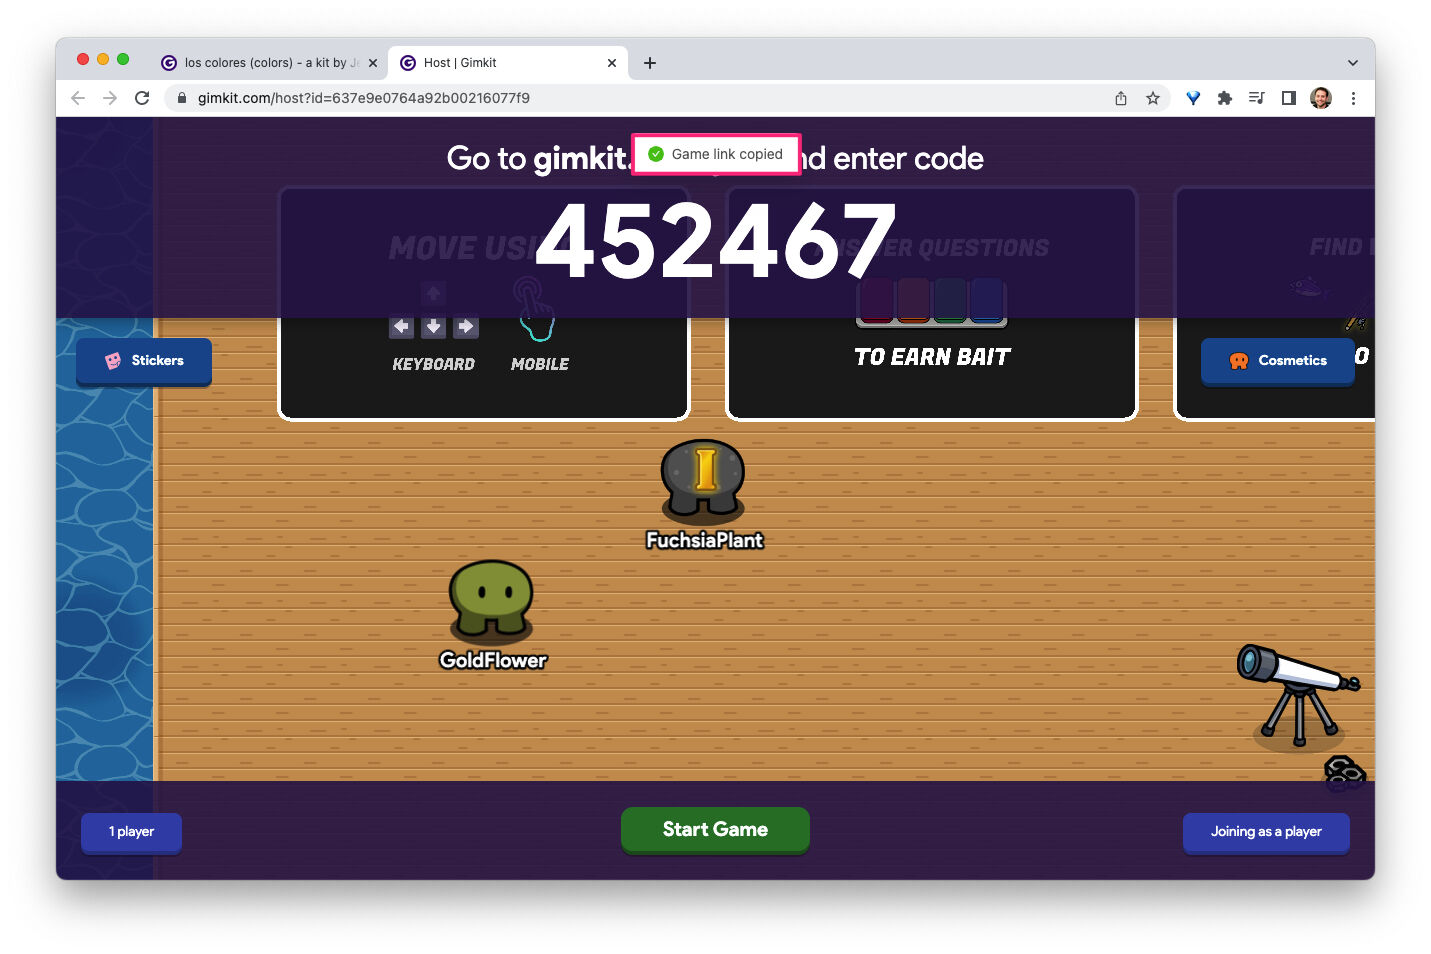
Once you continue, a new Lobby tab opens, displaying your game code. In 2D modes, you will see your character appear in the lobby. More characters will join as participants enter.

Allowing Students to Join
Players can enter the game using any of the following methods:
- QR Code: Hover over the code to display a scannable QR code.
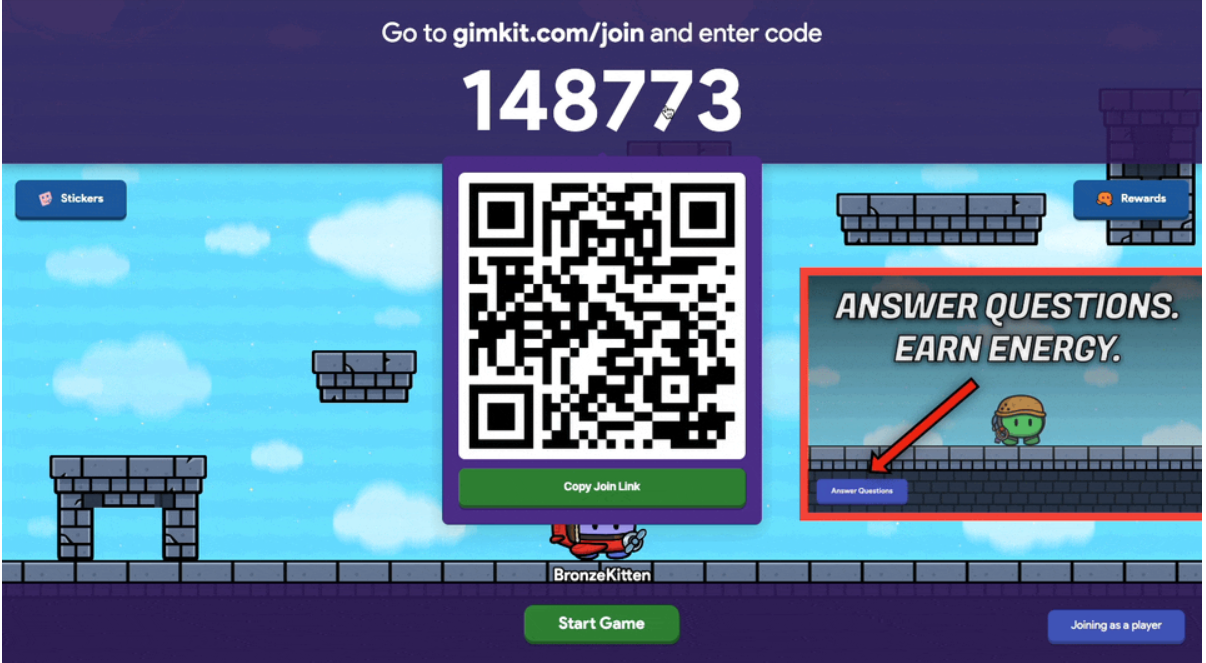
- Direct Link: Click the code to copy and share a join link.
- Manual Entry: Students can visit gimkit.com/join and enter the game code.
- Using Classes: Students in a class can enter instantly through the class system.
For non-2D modes, the lobby is also where you can moderate player names and remove inappropriate ones if needed.
Summing Up
| Feature | Description |
| Game Code | Displayed in the lobby for students to enter |
| QR Code | Hover over the game code to reveal a scannable QR code |
| Join Link | Click the game code to copy a direct link |
Launching the Game
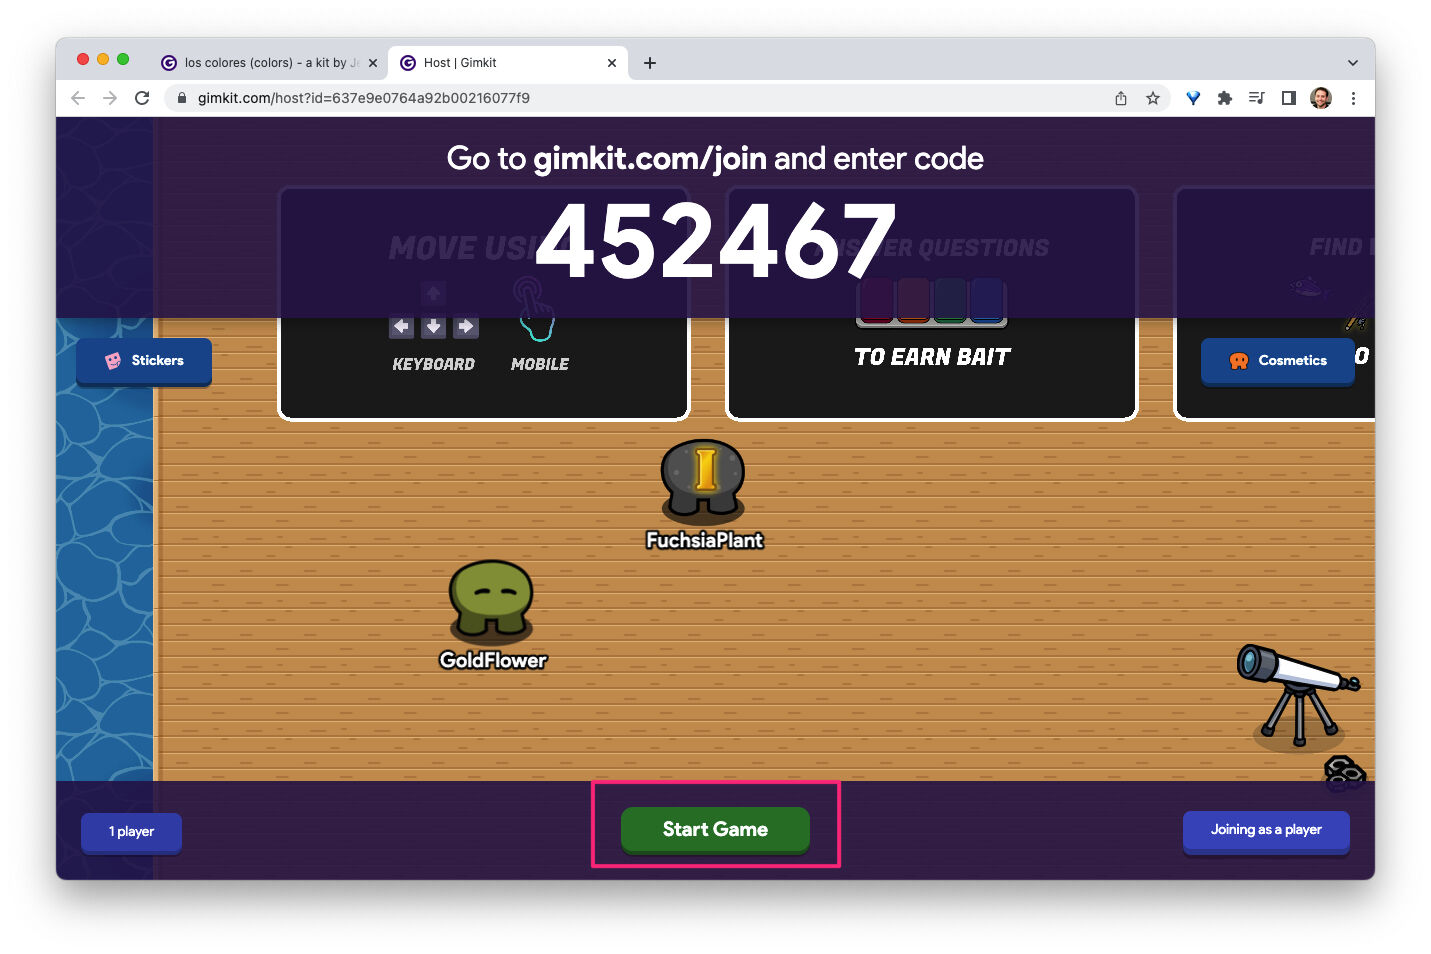
When ready, click Start Game to begin. The button’s location differs based on the mode:
| Mode Type | Start Button Location |
| 2D Mode | Bottom center |
| Non-2D Mode | Upper right corner |
After starting, students and the host will be taken into the game environment. In non-2D modes, a leaderboard can be displayed for everyone to see. For 2D modes, the host’s screen will show their in-game position.
Managing the Game
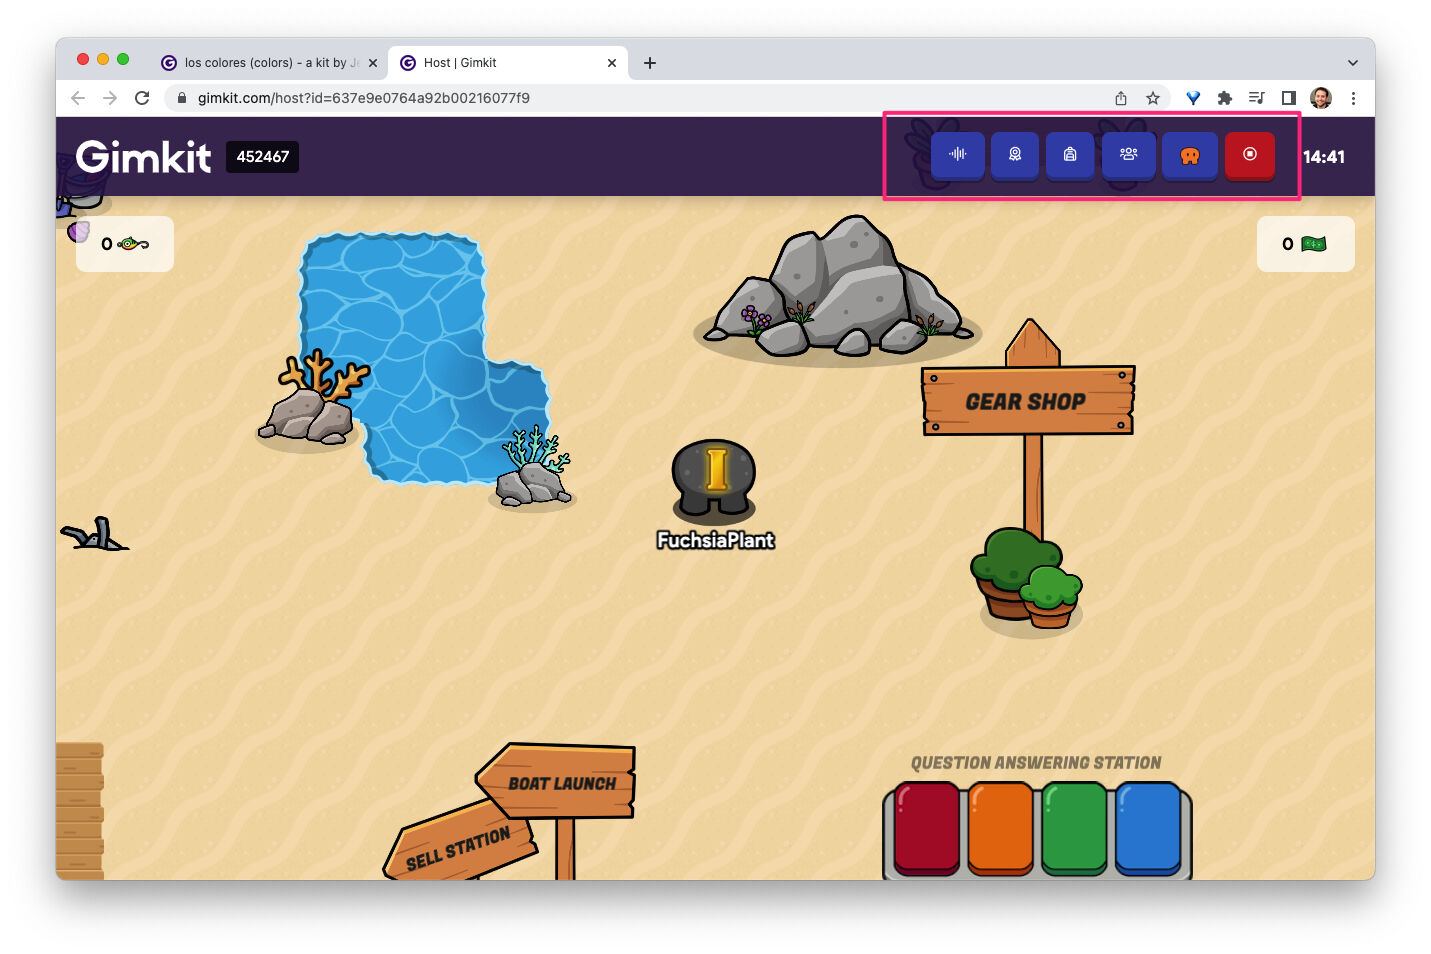
A control panel in the upper-right corner lets you:
- Adjust sound settings
- View the leaderboard
- Check player details
- Control gameplay (if playing a 2D mode)
- End the game manually
Ending the Game
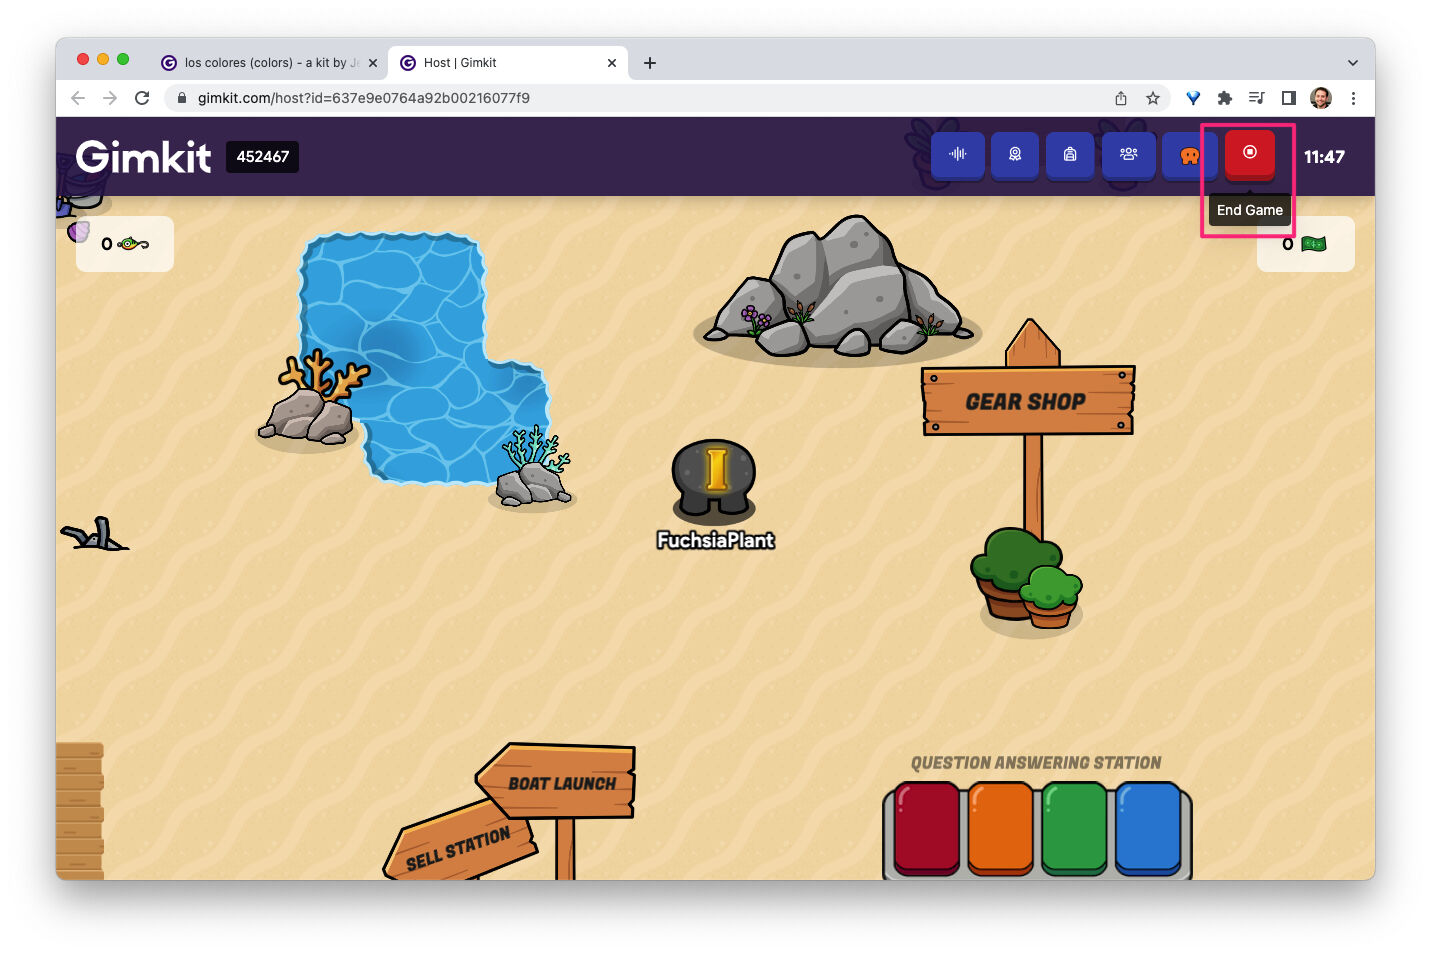
The game ends automatically when the selected goal is reached (e.g., a time limit for 2D modes). However, you can also click End Game to stop it anytime.
Hosting a game in Gimkit is simple and helps create an exciting learning environment. Enjoy your live sessions!
